“OK,” says Jay Lichty, “let’s see if we can get this box closed up today.”
Thus starts an extraordinary Day Two of my one-on-one guitar building workshop. Yesterday’s first stab at guitar building was about taking a deep breath, trusting my mentor, and knowing that it’s just a pile of wood and most errors are correctable. At worst, I’d figured, I’d just have to start over.
But, so far, so good. Most anxiety producing was doing some corrective bending on a heating iron. The complicated treble side cutaway didn’t exit the wood bending jig in perfect formation, so Jay had me go old school. All worked out and I exited the experience feeling just a wee bit like a real luthier. The second scariest task was cutting the rosette channel because the koa top wood is so gorgeous that a serious error would be a crime against both art and nature. But, good tools like a Dremel mini-router and jig and Jay’s calming presence prevailed and the rosette is precisely the delicate morsel of adornment that I sought.
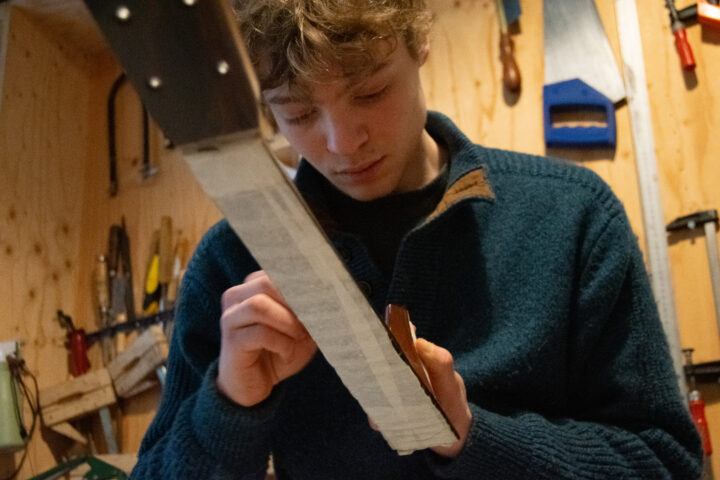
First up today is a task that makes yesterday’s look like child’s play: cutting a side sound port. I’ve not before had a guitar with a side sound port and haven’t enjoyed the effect of a sound port on most that I’ve encountered. But, last evening I played a couple of Jay’s guitars with sound ports, liked what I heard, and decided to take the hole-in-the-side plunge.
The picture tells the story! Absolute terror, mollified by Jay’s presence and another excellent jig. The hole is cut, sans damage, and … now I realize that every soul who plays or even holds the guitar will be able to see my, uh, handicraft in the guitar’s interior. Thanks, Jay!
That interior is the next step and the one for which I’ve been waiting: carving the bracing. As you may recall, we ended yesterday’s segment of this saga with the gluing of the roughly cut bracing to the back and top. As Jay explains, we’ve installed the braces in rough form so that “we can tap the back and top, listen, and gauge how we want to carve the braces based on what we hear.” Luthier Wayne Henderson has famously said that he starts with a stack of wood and “carves away everything that doesn’t look like a guitar.” We’ve braced the guitar with small, lightweight bits of spruce and will now carve away the bulk of that spruce until the plates of wood sound like we’d like them to sound. So, Jay suggests, draws pencil marks on the back braces, I carve with an array of chisels, we tap, I carve, we tap, I sand, we tap, I sand some more, and then we glue the back to the sides.
Well, gluing that back to the sides requires one more step, which reveals my Achilles heel of lutherie. We have to notch the kerfing so that we can tuck the back braces under it. Jay’s got a foolproof system that, well, isn’t up to the challenges that this fool presents. We mark where the back braces need to tuck under the kerfing, Jay sets the Dremel mini-router to the correct depth, and I wreak havoc on said kerfing. Well, not so much havoc that a few carefully glued bits of mahogany won’t disguise my misdeeds. So, with braces properly carved and sanded with 120 grit, then 180 grit, then 220 grit paper, we glue the top to the sides.
Next up, and our penultimate task for the day, is what I view as the most important mission of the project: shaping those top braces. Jay and I talk about what I wish, tonally, from my guitar, what he’s discovered in his own builds, playing other’s guitars, and from workshops with the likes of Wayne Henderson, Ervin Somogyi and Tom Ribbecke. We also discuss the tonal properties we noted (OK, Jay noted) from the koa top, pre-bracing. It’s stiffer and has more mass than a comparable spruce top. We thicknessed it (thinly) accordingly. We decide on our goal: a delicate and beautiful fingerstyle guitar. We’ll start with braces the size and shape of the feather-weight braces of a 1931 Gibson Argentine Grey L-2 and then remove most of the brace wood. We leave the quarter inch thickness where the braces are glued to the top and then I use a convex chisel to carve those braces in convex form up to a knife edge. In the process I remove approximately ¾ of the brace mass. I carve, we tap, I carve, we tap, I sand, we tap, I sand, we tap, and then Jay and I both smile.
Throughout the process Jay proves the perfect mentor. He’s there when I need him, but while I work, he works close by, shaping bridges for a couple of his builds. This frees me from the onus of an excessively watchful supervisor, but when I reach a point where I need input, Jay intuitively recognizes my need, or more likely, has been subtly watching me out of the corner of his eye. I get the autonomy I need to feel invested in the outcome, but come to know that the master will appear when I need input. In the course of carving, sanding, and tapping, I get to hear the progression of the tap tone of the koa top. It’s a stunning revelation in lutherie. Though I really have no idea what the eventual guitar will sound like, I do hear that top, when held to the ear and tapped, sound more and more like I want my guitar to sound.
We reach a point where the tap tone sounds like what I want, Jay concurs with a nod, and we’re ready to glue the top to the sides, which are already glued to the back. We’re going to close up this box.
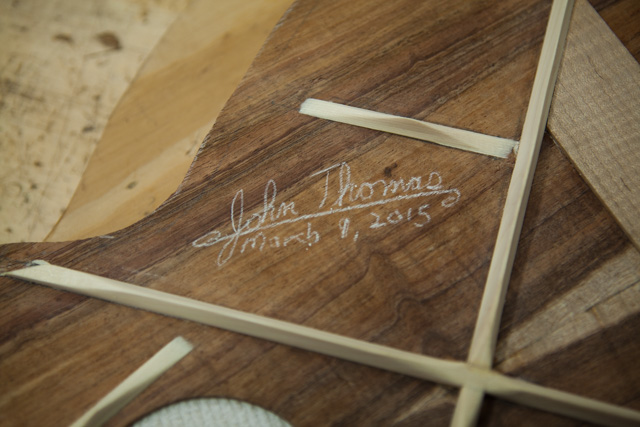
We’ve one more step, first: I sign my first guitar top! Though Jay has been there every step to advise and guide me, he has been clear to emphasize that this is my build and should reflect my goals. So, though as I tell Jay, this would be but a pile of wood chips without his guidance, I do feel that the result of our collaboration is my guitar top. So, proudly, sign it I do.
So, we end an astonishing eleven hour work session by gluing and clamping that top to the back and sides and leaving the shop exhausted, but knowing that Jay gave all that he had as luthier and mentor and that I gave my all as student and luthier wanna be.
A better day I can’t imagine. But, tomorrow will bring new discoveries.
All photos by Corrie Woods.
Next stop: Day Three.
………
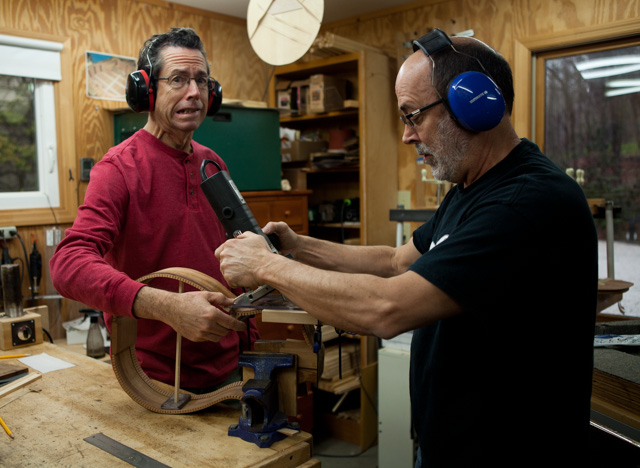
Routing the sound port.
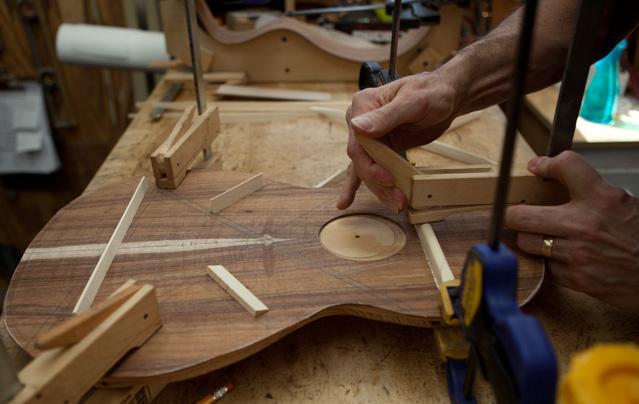
Clamping the top braces.
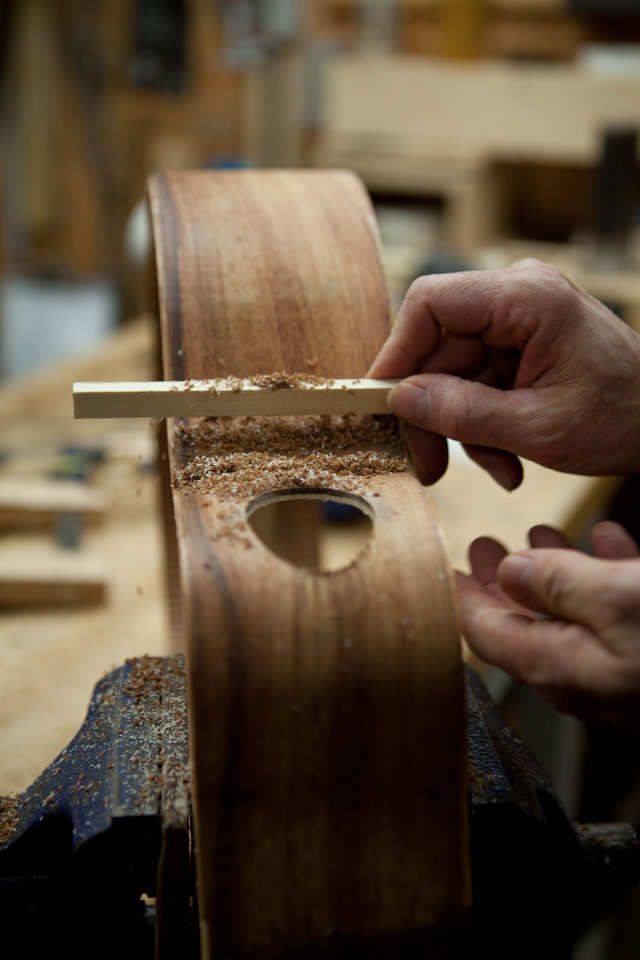
Fitting the sound port envelope.
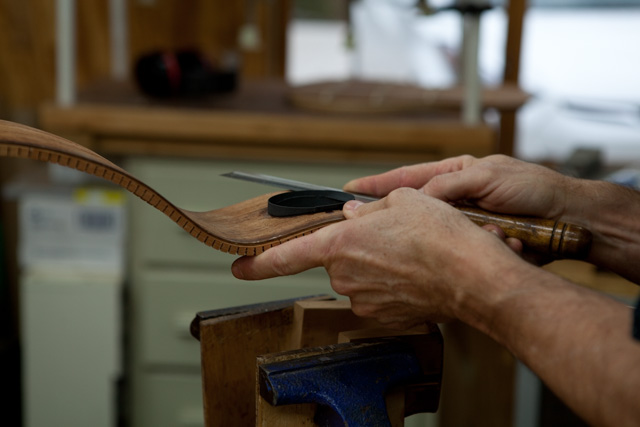
Scraping the sound port.
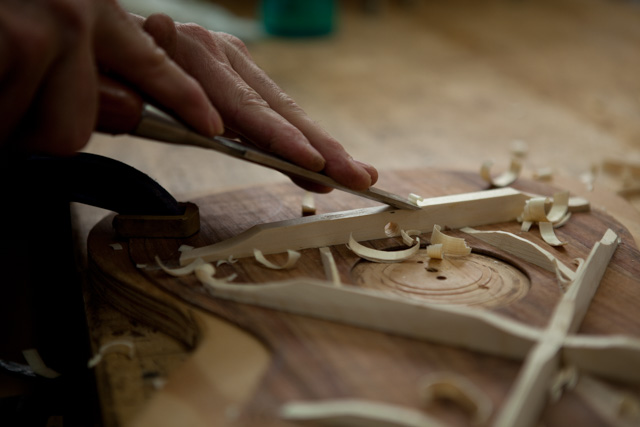
Shaping the top braces.
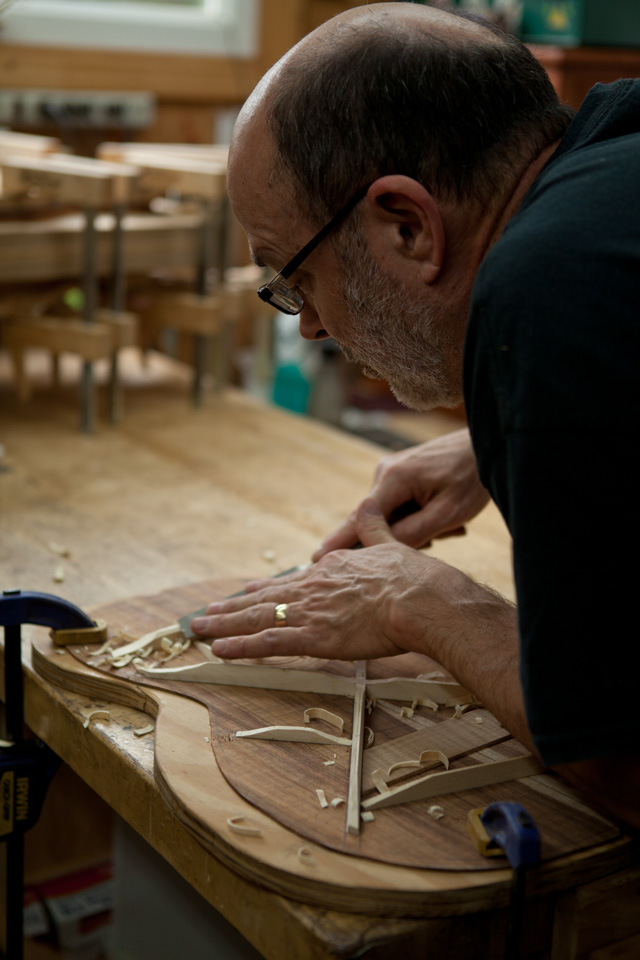
Shaping the top braces, part two.
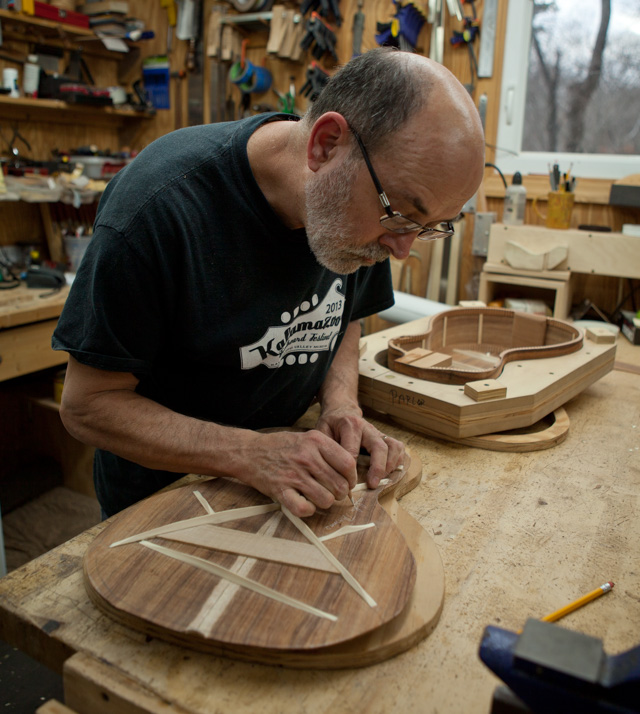
Nearly finished with the top braces.
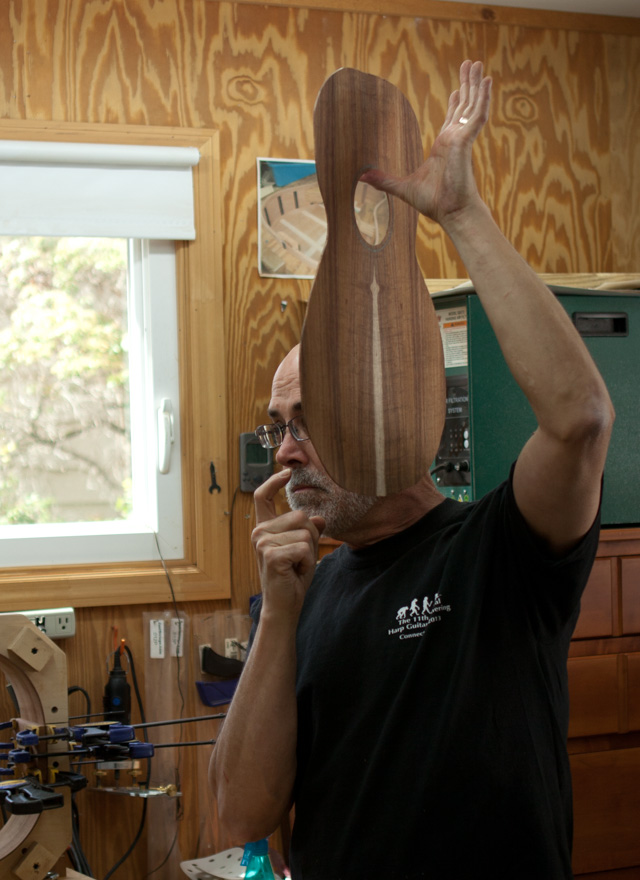
Tapping the top.