The first note sends a shiver through my body that nearly buckles my knees. Although I’ve been eagerly anticipating this moment for the past week, I find myself unprepared for its power and poignancy.
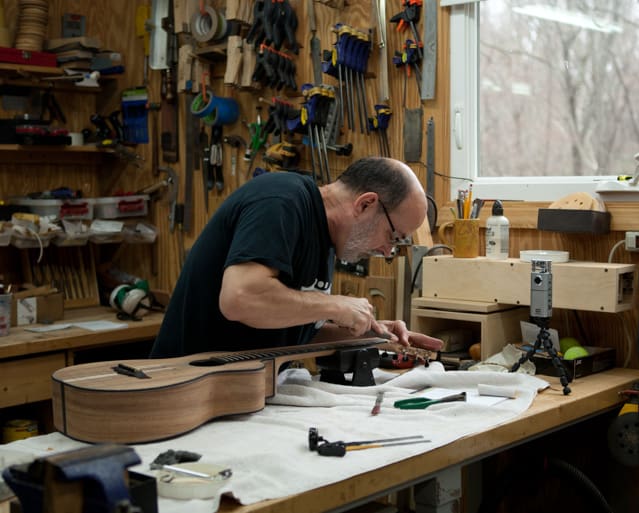
We’re halfway through day six of what was to be a ten day workshop with Jay Lichty. But, as though my life depended on the outcome, once in the shop I jumped in the deep end and didn’t come up for air until the guitar was completed. “A hummingbird on speed” is how Jay has described my presence.
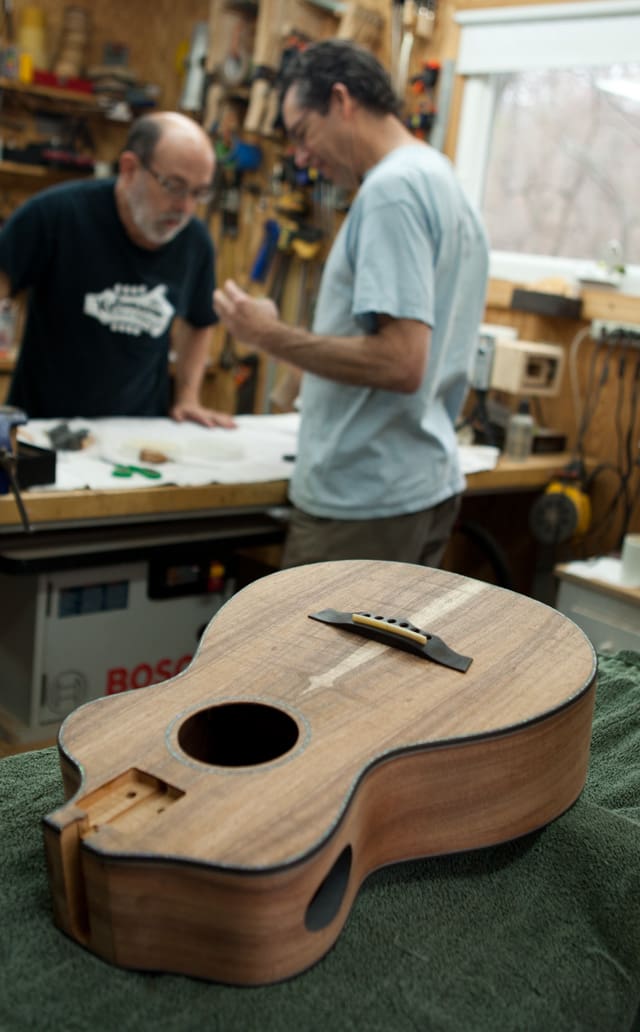
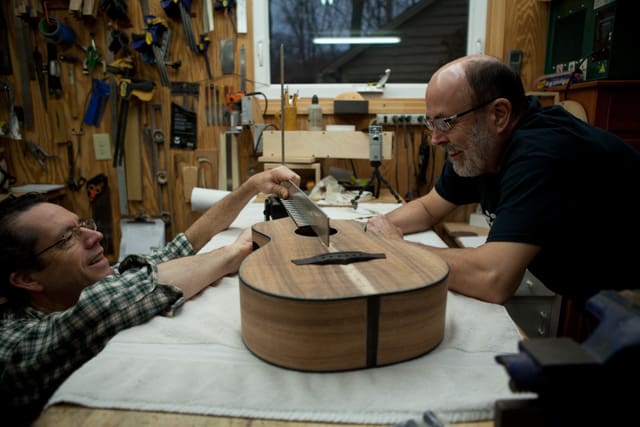
Jay has been an extraordinary teacher, mentor, and, well, friend. This project began several months ago when Jay and I began talking about what I’d like to build. We first talked about the style of music I play, my playing technique, what I like in guitars, and what sounds my current guitars offer. We then narrowed my preference to his double cutaway, parlor, “Bard” model, with an all koa body for a bright, delicate sound. Our conversation never ceased and when I began building the guitar, Jay talked me through my decision to try to add some bass to my creation as I voiced its bracing and graduated its top thickness.
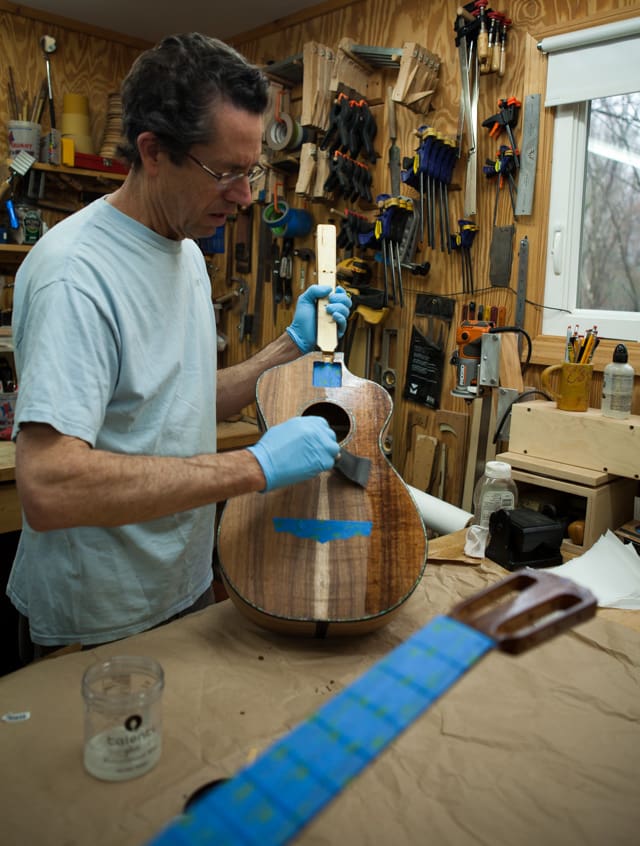
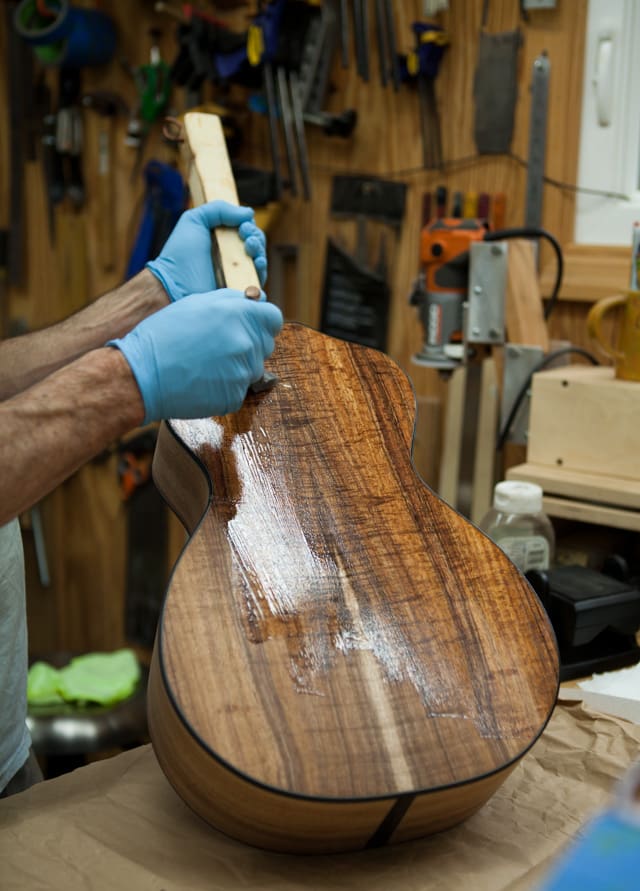
At each step, Jay has given me freedom, tempered by his advice and insight. The result is that I have truly built the guitar, with the exception of Jay’s assist in fitting the neck at the correct angle and helping to address the challenges I discussed in Day Four of this blog. Jay will also be applying the finish, which is several pay grades above my meager skill level.
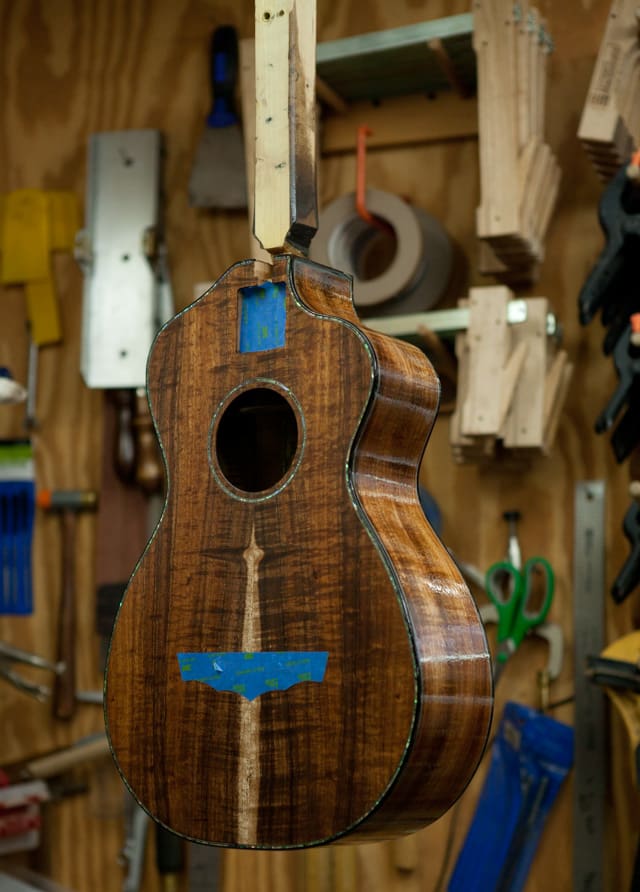
What I’ve produced, with mentorship, is no simplified, stripped guitar. I’ve inlaid abalone rosette and purfling, mitered tiny purfling lines on all edges of the guitar, and even inlaid my own, tiny “T” logo. In short, it’s a beautiful instrument in design, overall aesthetic, and in the details of craft. I truly find it difficult to comprehend that what I hold sprang from my hands.
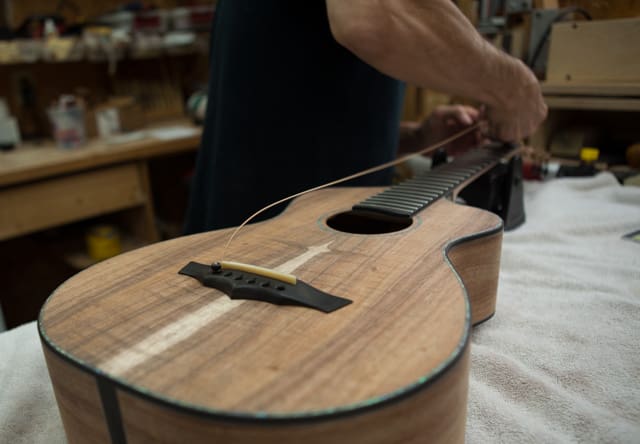
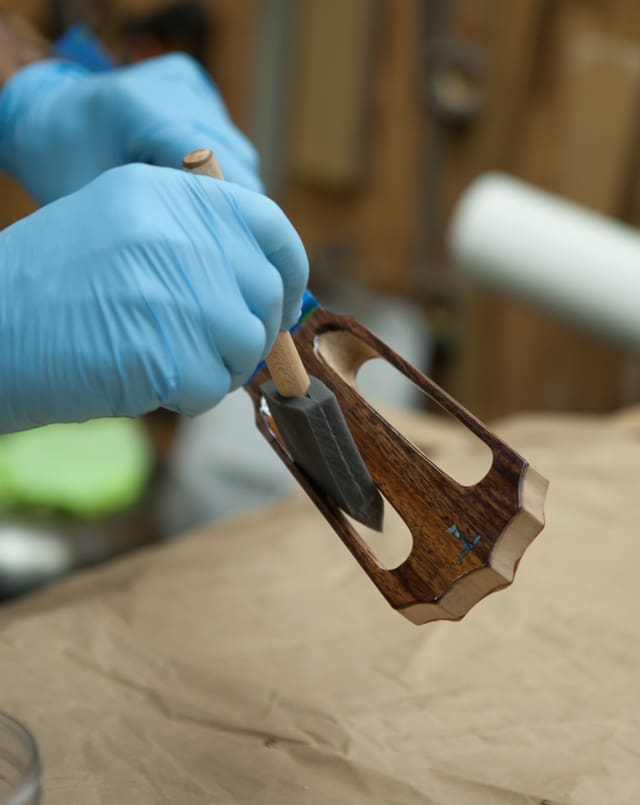
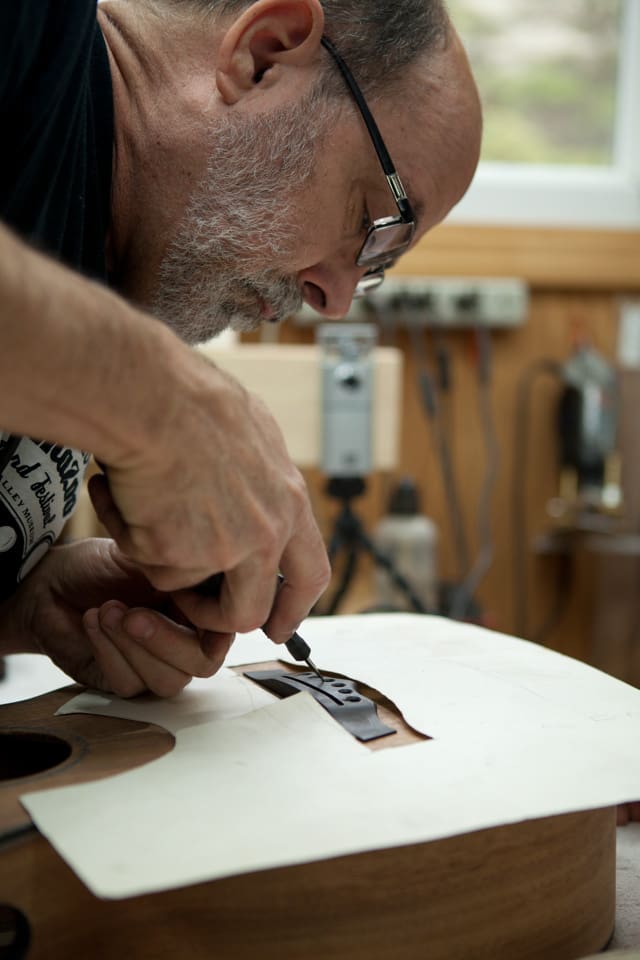
Last evening we temporarily glued the bridge to the top (Jay will remove it before applying the finish) and this morning I began the work of setting it up to play. First up I leveled, crowned, and polished the frets. Then carved a nut and saddle from camel bone. Then I punched the bridge pin holes through the guitar’s top and bridge plate, countersunk the bridge pin holes, and cut string ramps. Jay then helped me in the final, crucial adjustments to fitting the neck against the body.
I now stand here with one string on the guitar – I’ve begun with the low E, which rumbles nearly endlessly. So, as I marvel at the tone and sustain of the five minutes old instrument, I’ve time to ponder how I might repeat this experience. Jay offers custom made instruments that he builds, of course, and producing creations tailored to the specifications of his clients constitutes the bulk of his business. But, obviously, he also offers guitar building workshops. The cost of the workshop is the same as the cost of a guitar built by Jay and he even provides a handy price calculator on his website. Jay offers the workshops in one-on-one and group configurations. Participants range from the uninitiated, like me, to seasoned luthiers seeking to add to their skill sets. If you’ve neither the time nor inclination to build your own guitar, Jay’s business partner and wife, Corrie, will document your build via photography and videography, giving you a virtual workshop experience.
I’ve let me thoughts wander for too long. Let’s get the strings on this guitar and tune it up!
OK, here goes. How about a simple beautiful tune like the traditional “Water is Wide”? Or maybe a Chet Atkins medley of “Windy and Warm”/”Chet’s Tune?”? The sound from this newborn? You can judge for yourself from this YouTube video and this video.. As for me, Jay is going to have to pry the guitar from my hands if he hopes to apply the finish.
All photos by Corrie Woods.
Next and last stop: Encore.
……….

Tuning up for the first time
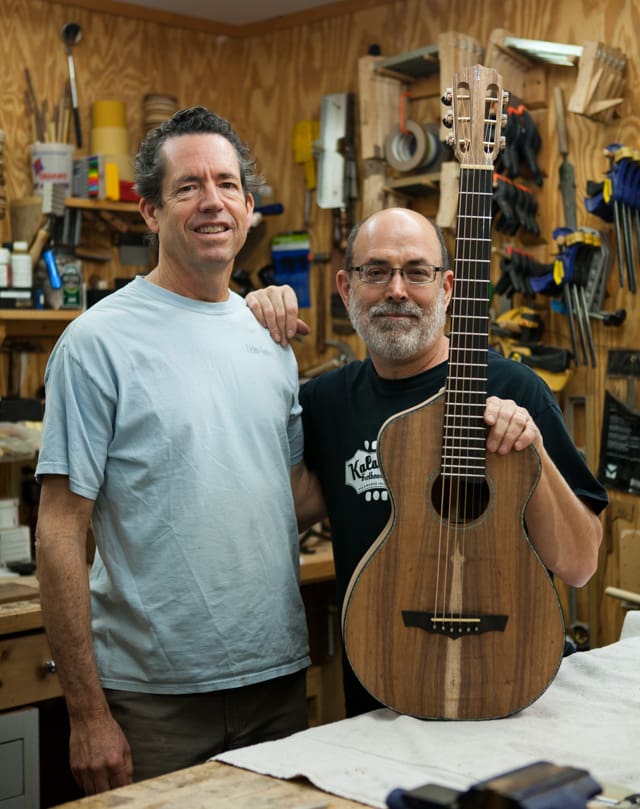
Teacher and student
Some more strings
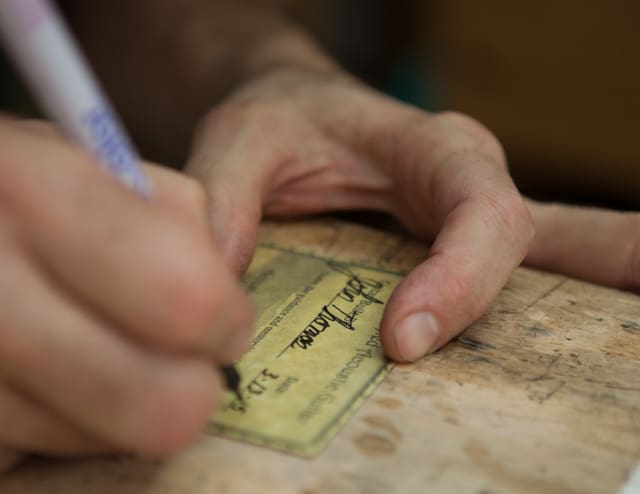
Signing the label
Rough shaping the nut
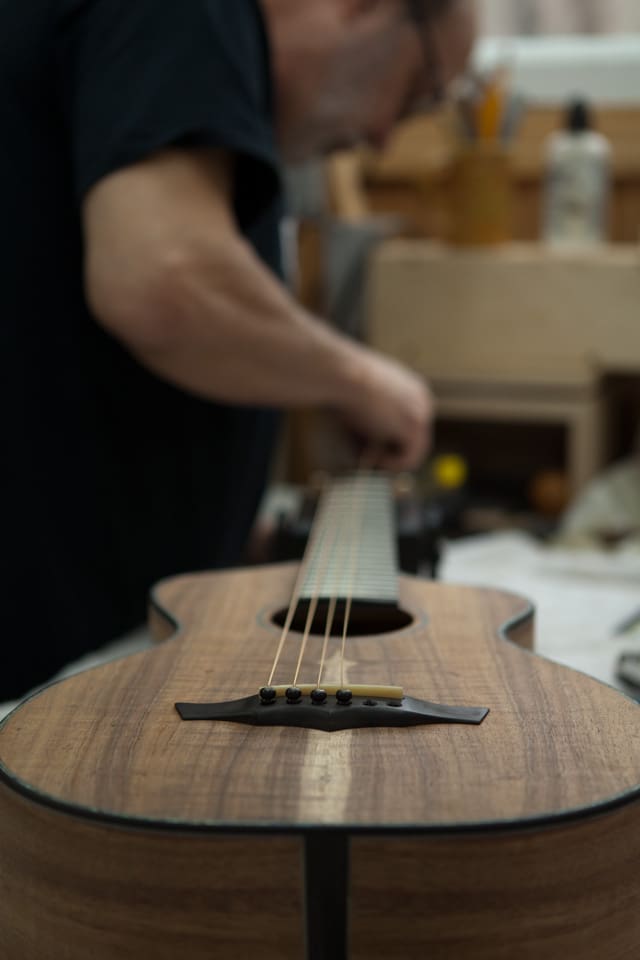
Putting that first string on
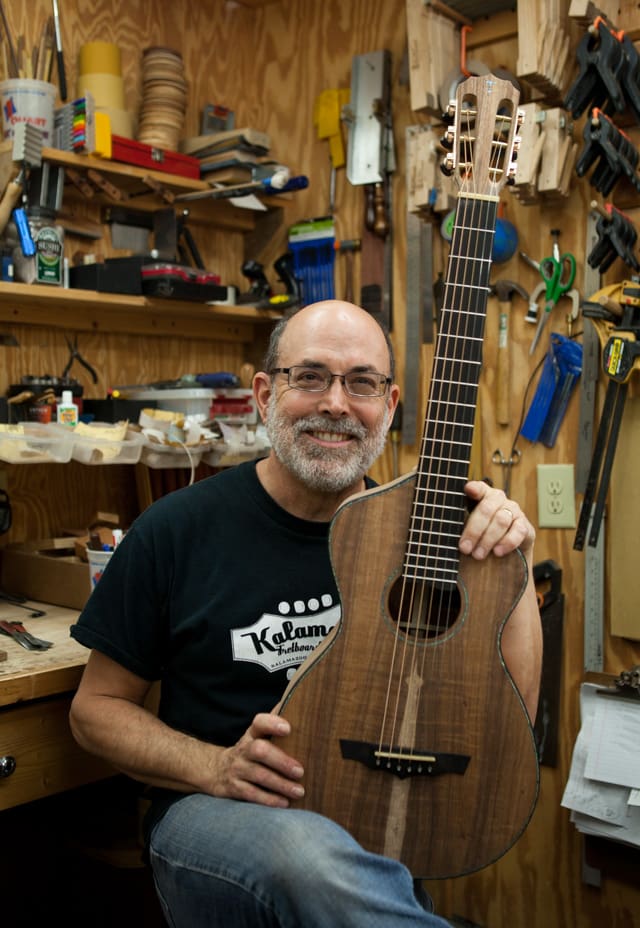
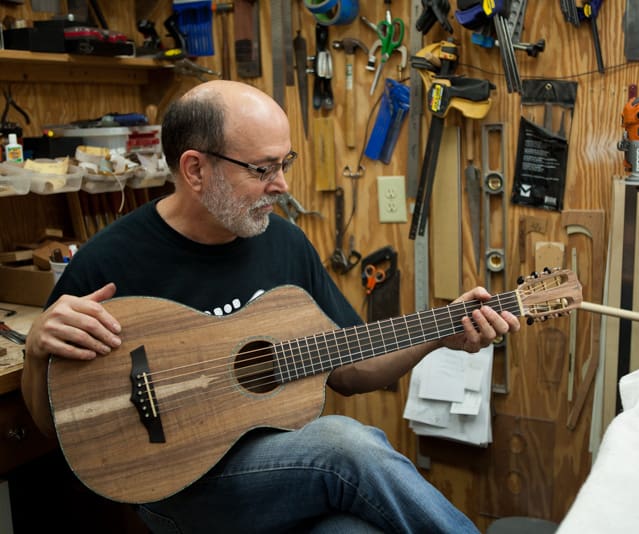
Man and guitar
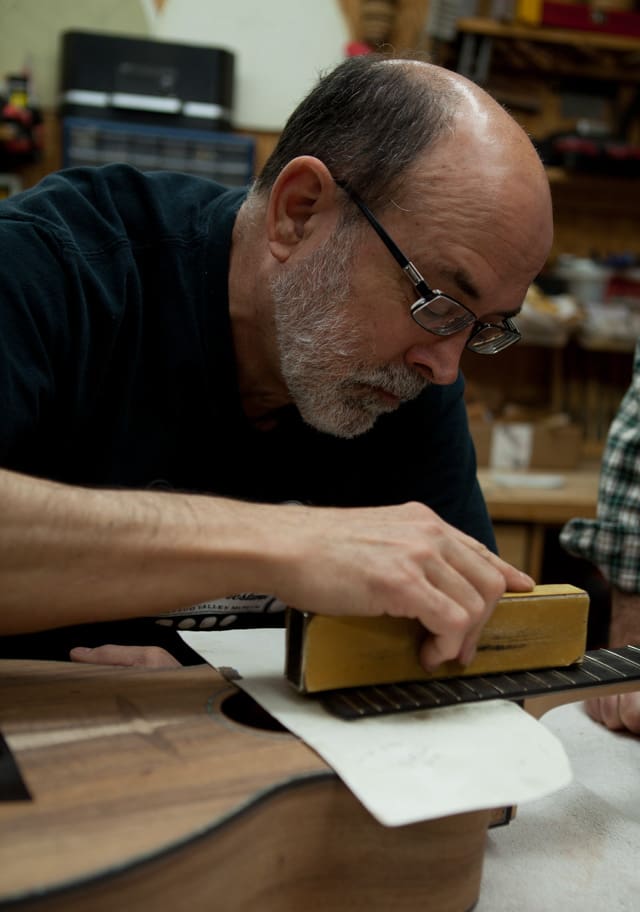
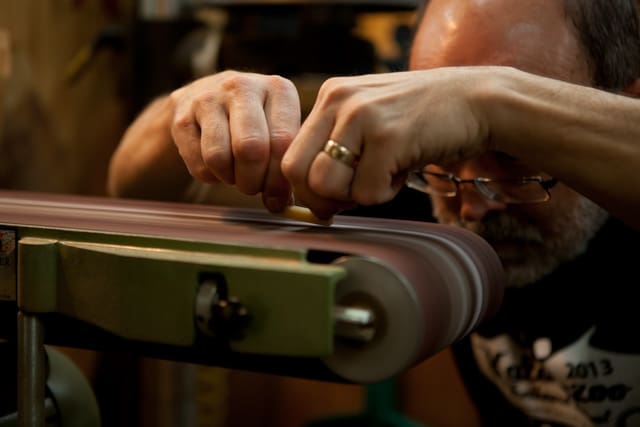
Leveling the frets
Jay checks my fret work
Jay applies and undercoat to the top
Jay applies and undercoat to the headstock
Jay applies and undercoat to the back
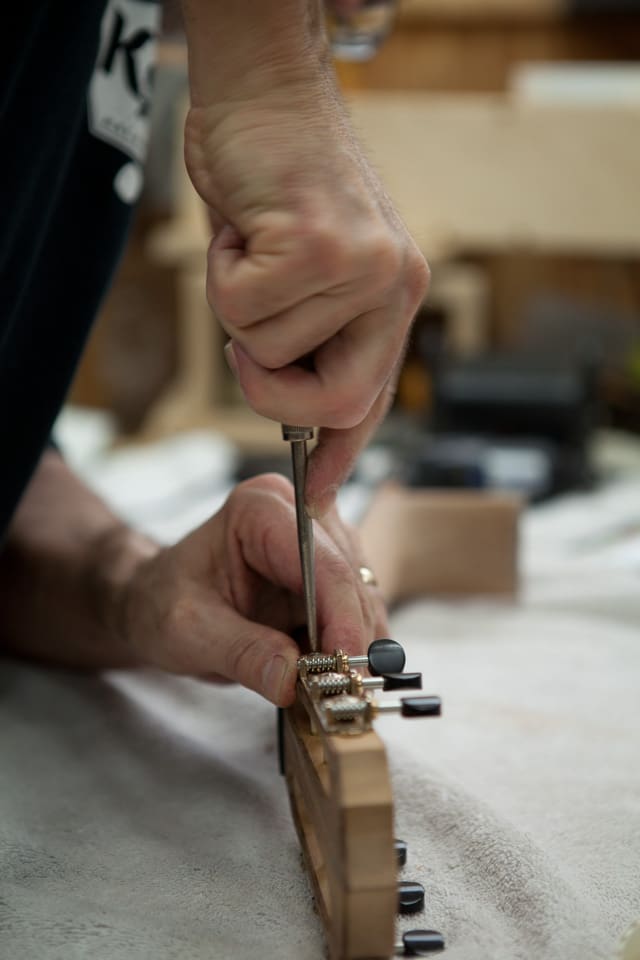
Installing tuners
First step in the finishing process
Cutting those nut slots
Cutting string ramps
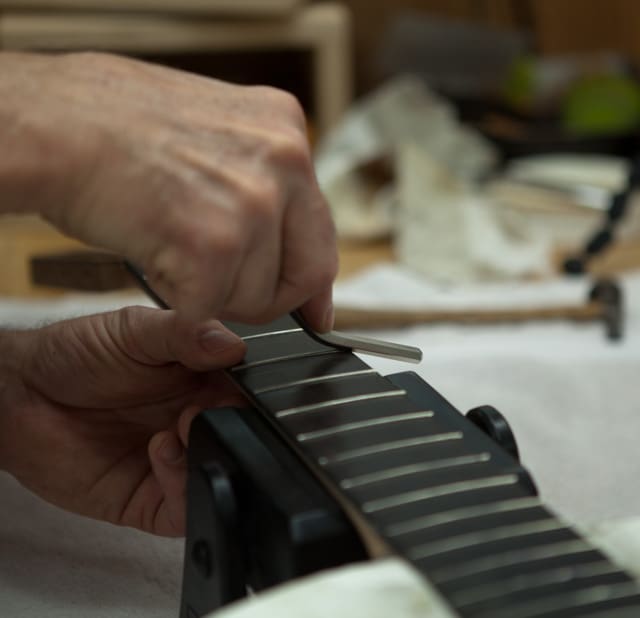
Crowning the frets
Checking the neck angle
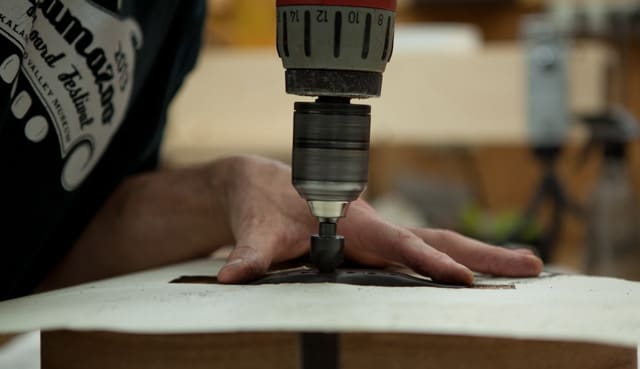
Countersinking bridge pin holes
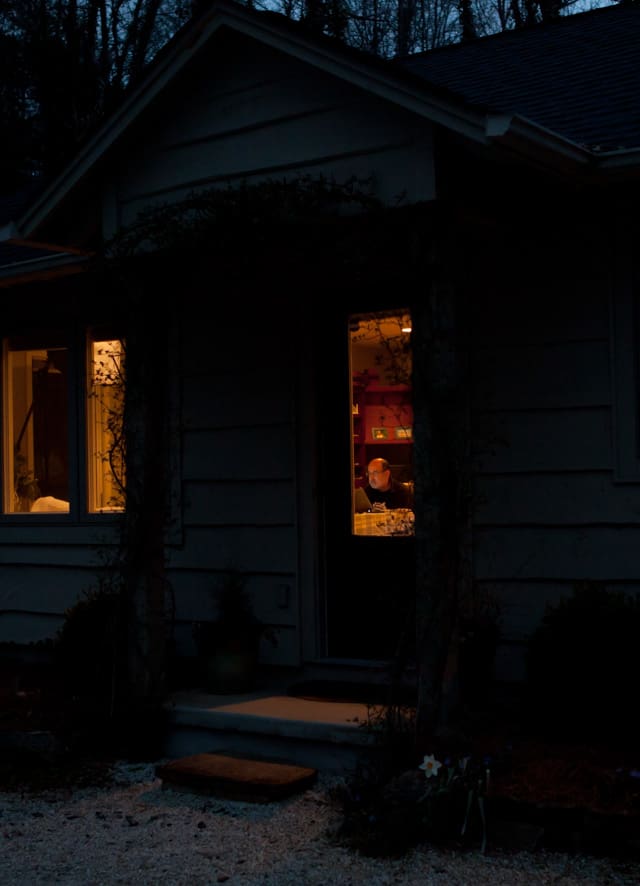
Typing my blog after a hard day in the shop


